Fighters: Difference between revisions
(Filled out "advice" section.) |
|||
| Line 9: | Line 9: | ||
===Command=== | ===Command=== | ||
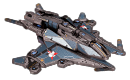
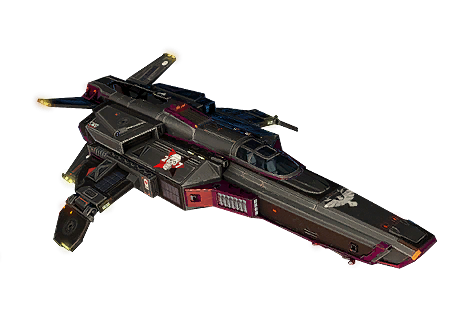
[[File:Command.png|50px|link=Command]][[Command]] ships are the main ships spearheading the | [[File:Command.png|50px|link=Command]][[Command]] ships are the main ships spearheading the offense. Their special Diffusion Shield allows them to safely hide from enemy fire, while decent hull and shield numbers ensure their longevity in battle. Command ships are particularly strong as part of large groups, since their active modules work at improving the efficiency of their allies. | ||
==Advice== | ==Advice== | ||
Fighters | Fighters are the bread and butter of any fight! With a mix of speed and firepower, they can hit hard and get away fast. Just remember not to get too far away from your team with one -- it's easy for the enemy to focus one ship at a time! | ||
===Gunship=== | ===Gunship=== | ||
With modules to do serious damage then get away quick, gunships are serious damage dealers! They don't get the extra armor the other fighters do, but can easily make up for it with firepower and the ability to be invulnerable for a short period of time. Gunships are best used as either brawlers or flankers -- either way, the extra damage is incredibly useful. | |||
In open space, gunships are very good at fighting. Gunships can boost their speed to get around maps quicker, and increase their firepower to take out a target! Be careful when pirating, however. Gunships have no stealth abilities, so getting away from police or determined players can be very difficult! The best option then is to destroy them as they come. | |||
===Tackler=== | ===Tackler=== | ||
Tacklers are the silent killers. With the ability to cloak for long periods of time, they can easily surprise an enemy! Combined with debilitating debuffs, it's easy for a tackler to take out targets that are far away from their team. With its modules to decrease enemy armor and speed, tacklers are very flexible and can be both support and damage dealers! Just remember that invisibility isn't always available -- and when it is, it doesn't mean invulnerability. | |||
Tacklers are incredible in open space. When taking too much damage, or just when worried, invisibility makes NPCs ignore you completely for as long as it's active! When pirating, the ability to surprise your prey then remove their speed and resistances can be very useful. Cloaking when an encounter goes wrong can make it nearly impossible for retribution, too! | |||
===Command=== | ===Command=== | ||
Command | With an incredible number of aura buffs, command ships can easily increase allied effectiveness just by being there. They can increase self and allied damage, speed, and resistances with their many auras -- which makes it easy to be both damage dealer and support. Command ships should stick near their team to have more allies in aura range. Remember to increase speed when moving between beacons, and increase firepower when shooting at enemy ships! | ||
In open space, commands are a good middle ground between speed, tank, and firepower. Just be careful when engaging -- without specialization, it's hard to run away, tank everything, or destroy enemies quickly. | |||
==Factions== | ==Factions== | ||
===Empire=== | ===Empire=== | ||
Revision as of 17:28, 27 August 2016
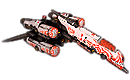
Fighters intro
Roles
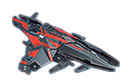
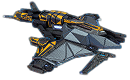
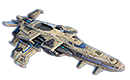
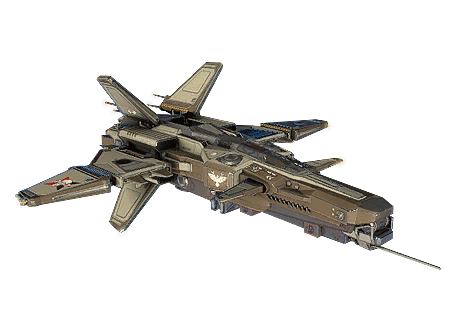
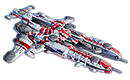
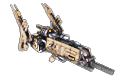
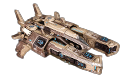
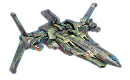
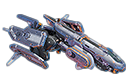
Gunship
 Gunships are suitable for dealing rare but powerful blows to enemy ships. Their special module allows them to temporarily yet dramatically increase their fire-power, speed and manoeuvrability. However, in cool-down periods between the activation of the special module, these ships are more vulnerable than all the other fighters.
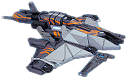
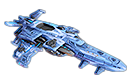
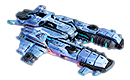
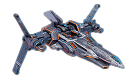
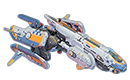
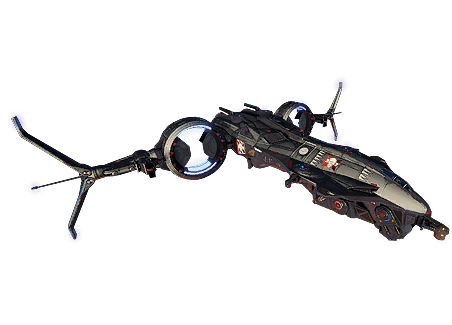
Tackler
 Tackler's objective is to find and destroy enemy Recon and Covert Ops ships. Using invisibility, tacklers can secretly move through the most dangerous zones in battle. Their high speed enables them to intercept Recon and Covert Ops ships. Active modules reduce the enemy's speed and temporarily weaken their shields and armour.
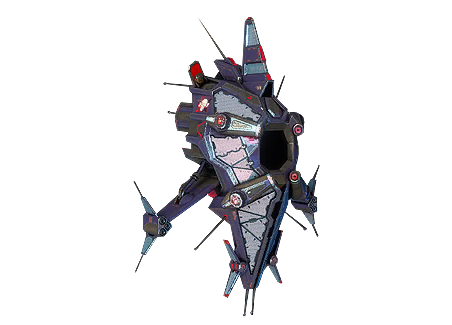
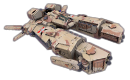
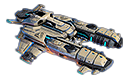
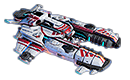
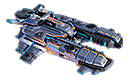
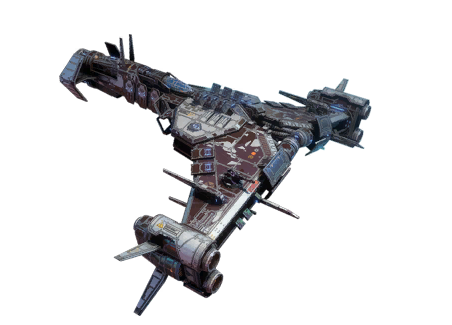
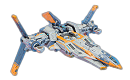
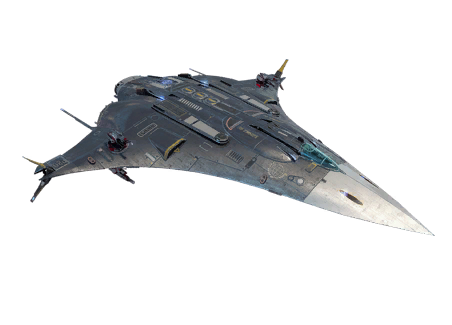
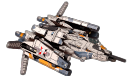
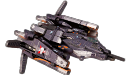
Command
 Command ships are the main ships spearheading the offense. Their special Diffusion Shield allows them to safely hide from enemy fire, while decent hull and shield numbers ensure their longevity in battle. Command ships are particularly strong as part of large groups, since their active modules work at improving the efficiency of their allies.
Advice
Fighters are the bread and butter of any fight! With a mix of speed and firepower, they can hit hard and get away fast. Just remember not to get too far away from your team with one -- it's easy for the enemy to focus one ship at a time!
Gunship
With modules to do serious damage then get away quick, gunships are serious damage dealers! They don't get the extra armor the other fighters do, but can easily make up for it with firepower and the ability to be invulnerable for a short period of time. Gunships are best used as either brawlers or flankers -- either way, the extra damage is incredibly useful.
In open space, gunships are very good at fighting. Gunships can boost their speed to get around maps quicker, and increase their firepower to take out a target! Be careful when pirating, however. Gunships have no stealth abilities, so getting away from police or determined players can be very difficult! The best option then is to destroy them as they come.
Tackler
Tacklers are the silent killers. With the ability to cloak for long periods of time, they can easily surprise an enemy! Combined with debilitating debuffs, it's easy for a tackler to take out targets that are far away from their team. With its modules to decrease enemy armor and speed, tacklers are very flexible and can be both support and damage dealers! Just remember that invisibility isn't always available -- and when it is, it doesn't mean invulnerability.
Tacklers are incredible in open space. When taking too much damage, or just when worried, invisibility makes NPCs ignore you completely for as long as it's active! When pirating, the ability to surprise your prey then remove their speed and resistances can be very useful. Cloaking when an encounter goes wrong can make it nearly impossible for retribution, too!
Command
With an incredible number of aura buffs, command ships can easily increase allied effectiveness just by being there. They can increase self and allied damage, speed, and resistances with their many auras -- which makes it easy to be both damage dealer and support. Command ships should stick near their team to have more allies in aura range. Remember to increase speed when moving between beacons, and increase firepower when shooting at enemy ships!
In open space, commands are a good middle ground between speed, tank, and firepower. Just be careful when engaging -- without specialization, it's hard to run away, tank everything, or destroy enemies quickly.
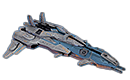
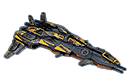
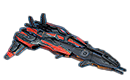
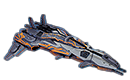
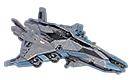
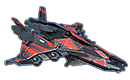
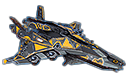
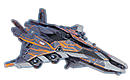
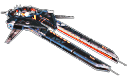
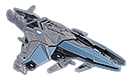
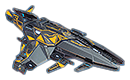
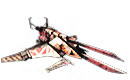
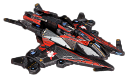
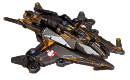
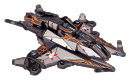
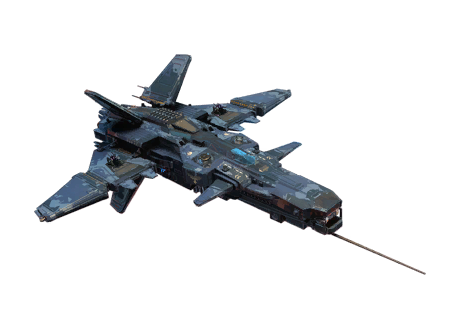
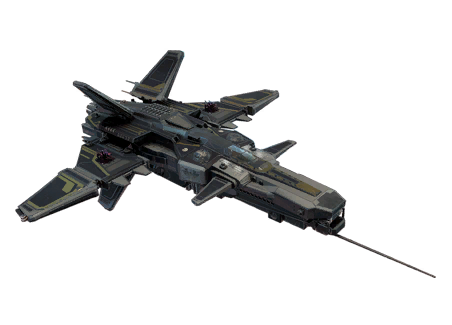
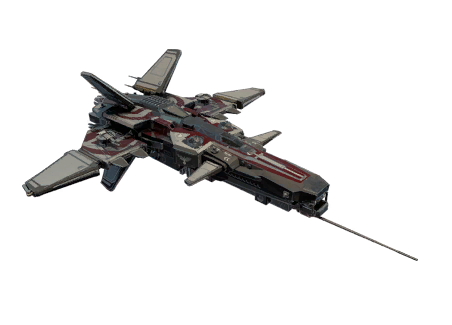
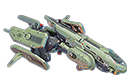
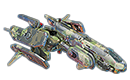
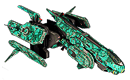
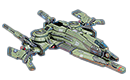
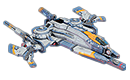
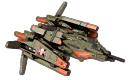
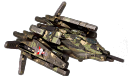
Factions
Empire
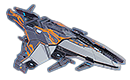
I ![]() Hercules
Hercules
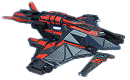
III ![]() Hercules Rage
Hercules Rage
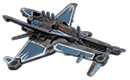
V ![]() Ghost
Ghost ![]()
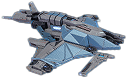
V ![]() Deimos
Deimos
VI ![]() Deimos 2
Deimos 2
VI ![]() Kalah
Kalah ![]()
VI ![]() Shark
Shark ![]()
VII ![]() Phobos
Phobos
VIII ![]() Prometheus
Prometheus
IX ![]() Achilles
Achilles
IX ![]() Prometheus X
Prometheus X
IX ![]() Nukem I
Nukem I ![]()
IX ![]() Desert Eagle
Desert Eagle ![]()
XI ![]() Castor
Castor
XI ![]() Spartacus
Spartacus
XII ![]() Argonaut
Argonaut
XII ![]() Orelus
Orelus ![]()
XII ![]() Loki
Loki ![]()
XIII ![]() Apollo
Apollo
XIV ![]() Aura
Aura

XV ![]() Lightbringer
Lightbringer
XV ![]() Spark
Spark ![]()
XV ![]() Mjolnir
Mjolnir
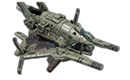
Federation
I ![]() Lynx
Lynx
III ![]() Lynx-M
Lynx-M
III ![]() Tiger-M15A3
Tiger-M15A3 ![]()
IV ![]() Lynx Mk II
Lynx Mk II
V ![]() Fox
Fox
V ![]() Joker
Joker ![]()
VI ![]() Fox-M
Fox-M
VI ![]() Rhi-no
Rhi-no ![]()
VII ![]() Silent Fox
Silent Fox
VIII ![]() Wolf
Wolf
IX ![]() Wolf-M
Wolf-M
IX ![]() Hyena
Hyena
IX ![]() Bear
Bear ![]()
IX ![]() Parallax
Parallax ![]()
X ![]() Stingray
Stingray
XI ![]() Tiger-M
Tiger-M
XI ![]() Tiger
Tiger
XII ![]() Tiger II
Tiger II

XII ![]() Panther
Panther ![]()
XIII ![]() Lion
Lion
XIV ![]() Piranha-B2
Piranha-B2
XV ![]() Lion Mk II
Lion Mk II
XV ![]() Rockwell
Rockwell ![]()
XV ![]() Jaguar
Jaguar ![]()